BEFORE:


AFTER:

Que the Sir Mix-A-Lot beat in your head. Ready?
I like big mudrooms and I cannot lie! You other mothers can’t deny! When you walk into a house with a nice big entry space, hooks and benches in every place, coats get hung!! Wanna sort your stuff, ’cause ya’ notice those cubbies are up. Look at the mittens, they’re pairin’, snow pants are hung and I can’t stop starin’! Oh mudroom, I wanna’ live with ya’, and stare at that wall fixture. My mother friends try to warn me, but that mudroom you got makes me so…jealy?
Okay, that’s all I’ve got. Mondays are Warren G Pandora + laundry, so I have some lyrical skills, but you didn’t come here for that.
Here’s how I turned up the volume on my skinny and boring everyday entry:
I had to attack the functionally challenged hallway closet to make this space work for our family. I’m a hater of hangers. My girls are haters of hangers. We need hooks!!!
Cramped coat closet before:

Coat closet after its “Mudroom Nook” makeover

Here’s how I turned our closet into a mudroom nook:
This post contains affiliate links. As an Amazon Associate, I can earn a small commission, at no cost to you, on qualifying purchases. You can read my affiliate disclaimer here.
First, I took the doors off and removed the shelf and coat rod, and framed a bench at standard bench height (18″) leaving me with this:

Once I had the frame attached to studs and the bench supports attached with pocket holes to the frame, I added the planks for my bench. I used two 1×8 boards and sandwiched in a 1×4 to achieve my desired width.

After I attached the boards to the bench frame with construction nails (I wanted a rustic look), I called in my minions to distress the wood, which is their favorite part. They used nail sets, screwdrivers and screws to beat up the wood.

After the wood was distressed, I used an orbital sander with 60 grit sandpaper to round the corners on the bench. Then I used a sand block with 120 grit to go over the bench seat to remove any sharp spots caused by distressing.

After I vacuumed the wood, I stained it with a Dark Walnut stain, sanded it again, and sealed it with a dark brown dark wax to achieve this effect:

Once the bench was done, I used 1×4 common pine to create my board and batten wall treatment. I used white caulk to fill in any gaps before painting (notice the faux brick wall is not installed yet):

I installed the shelf that I had initially removed and attached it to the top of the boards using finishing nails and wood glue. Then I added another shelf below with 1×8 pine and installed corbels to support it. After that, I painted everything with three coats of Behr paint + primer in “Dusty Olive”, sanding with 220 grit after each coat. Once the paint was dry, I added six double hooks and baskets. I bought the crates below the bench at Home Depot and installed four casters to the bottom of each to enable them to roll in and out easily.
After the mudroom nook was in place, I wanted to give an urban kick to the entry wall by installing a whitewashed faux brick wall, achieving this urban loft effect! Click here for the complete step-by-step tutorial.

Now that I had an accent wall in place, I wanted to have the opposite wall serve as a functional continuation of the mudroom nook. We have a lot of kids come over after school, so I wanted to have plenty of hooks to accommodate them.
Here’s the wall before:

And the wall after I used 1×4 common pine to create a functional board and batten wall with hooks:

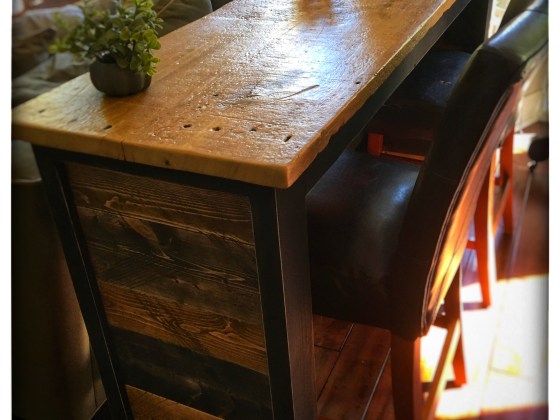
Notice the super skinny bench on the left? I scored a free pallet from Home Depot, so I decided to buy some industrial-looking hardware and a 2×12 board and transform them into a skinny shoe bench for my skinny hallway. You can never have enough shoe storage!!


I wanted to add a special nook for the girls to accommodate their backpacks, coats and accessories. I used the small space between the garage door and the laundry room to install a board with hooks, a small shelf and a chalkboard wall. Click here for the chalkboard wall tutorial!
That’s a wrap! We love our new “mudroom”. When we first moved in to this house, the everyday entry from the garage was a boring, sad and wasted space. Now, every square inch serves a purpose and adds character.
I would love to see your everyday entry transformations!