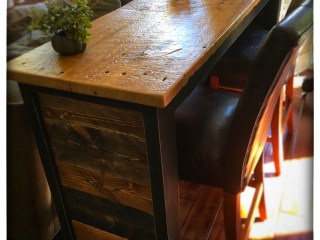
I love how this reclaimed sofa bar came together on a single Sunday, simply with scrap wood and a forgotten slab of reclaimed barn wood.
There is something very satisfying about finding a functional use for a small pocket of space in a home. This behind-the-couch area was just that before this beautiful piece transformed it into an extra seating and dining area.
This post contains affiliate links. As an Amazon Associate, I can earn a small commission, at no cost to you, on qualifying purchases. You can read my affiliate disclaimer here.
The character in this piece of reclaimed wood is clearly the star of the show, showing off its incredible history and beauty with nothing more than a cleaning, light sanding and a few layers of premium finish. I opted not to fill cracks and nail holes with epoxy on this piece. I felt like it was a sin to augment any of the patina or history.
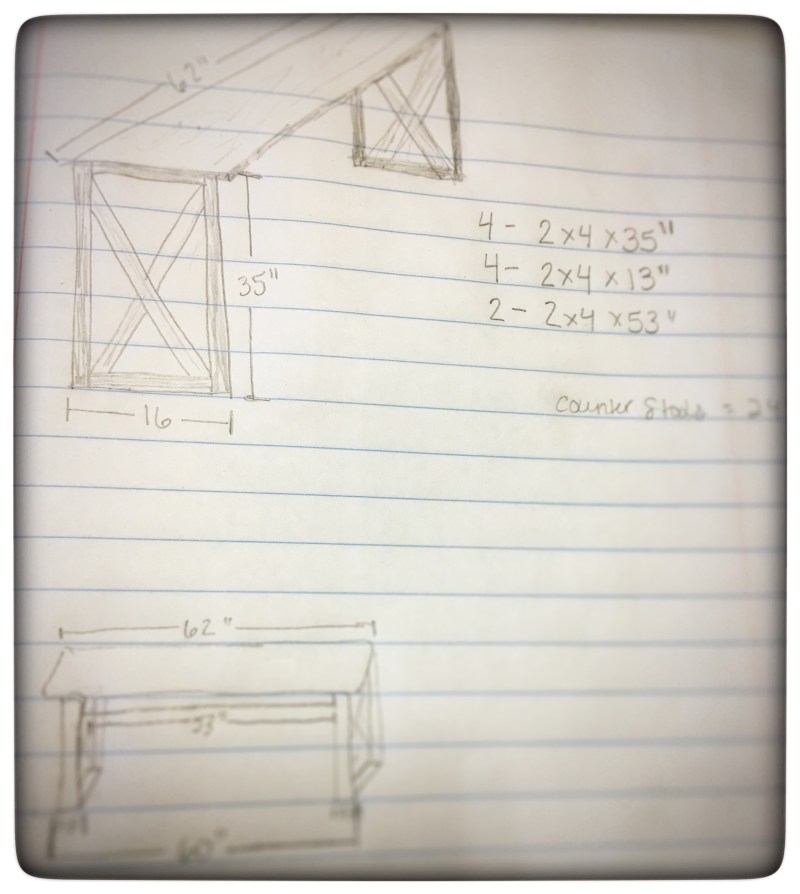
When I’m designing, I always start with one key measurement to start the process. In this case, it was the reclaimed top, which was 62″ long by 16.5-17″ deep (because it’s reclaimed, there is a bit of a discrepancy on the depth at different places). From there, I designed the base with a counter-height measurement in mind, which is 35″. I then calculated the overhang that I wanted and factored that into my base measurements.
With my measurements sketched on paper, I gathered the scrap wood and the reclaimed piece of barn wood from the garage and got to work.
The patina on this barn wood was absolute perfection, so I gave it a very light cleaning with a wire brush then sanded down any splintery or jagged places with a 220 grit sandpaper over a sanding block. The key here is hand sanding. Do not take an orbital or belt sander to reclaimed wood unless you want to kiss the patina goodbye.
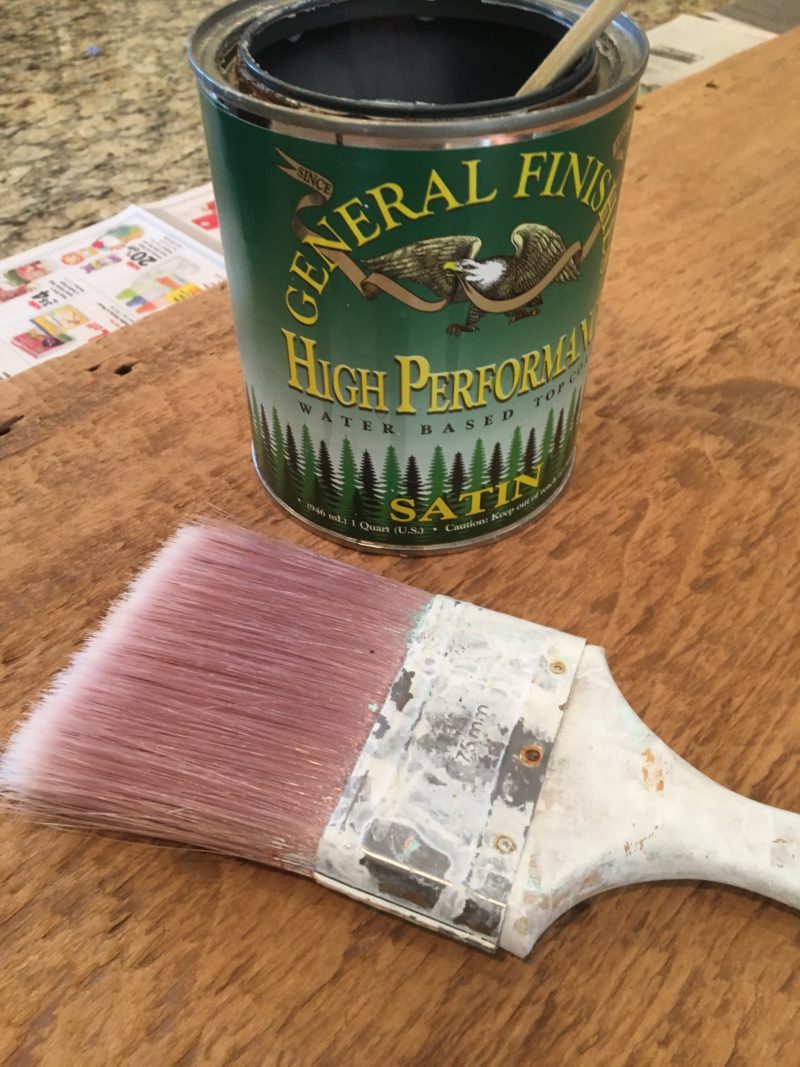
After I cleaned and sanded the barn wood, I vacuumed the entire top using a brush attachment and made sure to clean out the cracks and nail holes well. Once the top was clean, I sealed it with three coats of General Finishes High Performance Top Coat, along with my finishing brush, which is my go-to finishing method.
While the top was drying in between coats, I got to work on the 2×4 scrap wood that I used to assemble the base, using the measurements in the sketch. I cut the rounded edges of the 2×4 off on my table saw, taking about 1/8″ off each edge.
Once my boards were squared on the table saw, I drilled two 1.5″ pocket holes into the top ends of the horizontal support boards for the top and bottom of the base.
To assemble each base rectangle, I used Titebond III, clamps and a square to hold the base in place before using 2.5″ screws to attach the base pieces.
Make sure your pocket holes are on the outside of your base rectangles.
I was out of 2.5″ pocket screws so I subbed these 2.5″ construction screws, but notice they are not threaded all the way, so they work similarly to pocket screws.

After the apron pieces were attached to the rectangle bases, I attached support bars to go under the reclaimed top.
I then rummaged through my scrap wood pile and found these variable width boards that I distressed with a nail set and drywall saw, then stained with different colors of fast dry stain. After they were dry, I went over them with my orbital sander and 120 grit to further distress them and give them a salvaged appearance.
I attached a 1×2 pine board flush to the inside of each base using Titebond and 18 guage brad nails. These boards helped create the inset look of the salvaged boards and also served as a backing to nail them in.
The last step in the base structure was to add a foot rest that would also serve as an additional horizontal support. I attached it using 1.5″ pocket holes, glue and 2.5″ pocket screws.
After base assembly was complete, I painted the entire base with General Finishes Black Pepper Chalk paint. I only had 1/8-1/4 of the can left, so I added a little bit of water and it covered the entire base.
I love how the flat black chalk paint and clean square lines almost make the base look metal.
After the paint was completely dry, I staggered the “salvaged” boards and attached them to the 1×2 pine strips using 18 gauge brad nails and my nail gun.
Here it is with both sides planked with the salvaged wood and ready for the top.
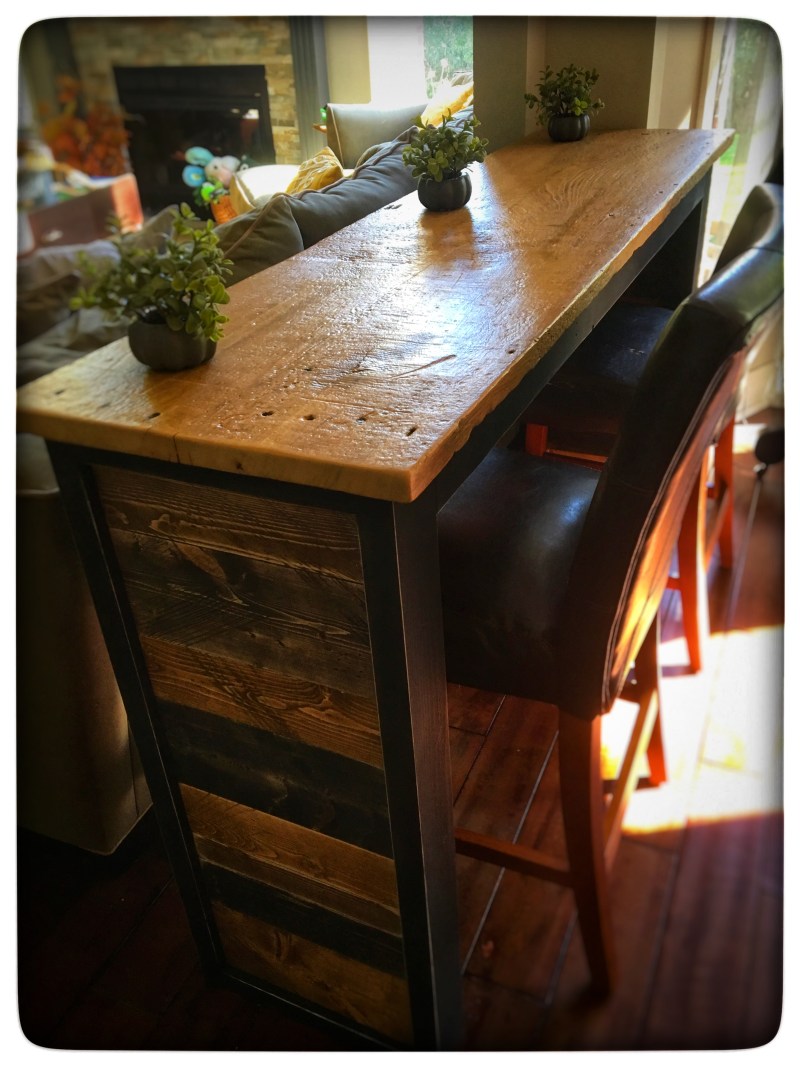
Here it is with the reclaimed top. I absolutely loved it but decided to distress the edges of the black base with a 120 grit sandpaper.
And here it is, with the sun shining on that gorgeous top! We absolutely love it! It was fast, easy and FREE!! If you decide to use my plan to build your own sofa table, please tag SubUrbanRustic on social media or post it on my SubUrbanRustic Facebook Page.
Happy Building!!!


